Exercise
In this exercise, you will create a repository on Docker Hub and push an image inside it.
Create an account on Docker Hub
Create a repository named www with public visibility
Login from the command line using your Docker Hub credentials
Use a locally available image and tag it with USERNAME/www:1.0 (use the
docker image tagcommand)Upload the USERNAME/www:1.0 image to Docker Hub
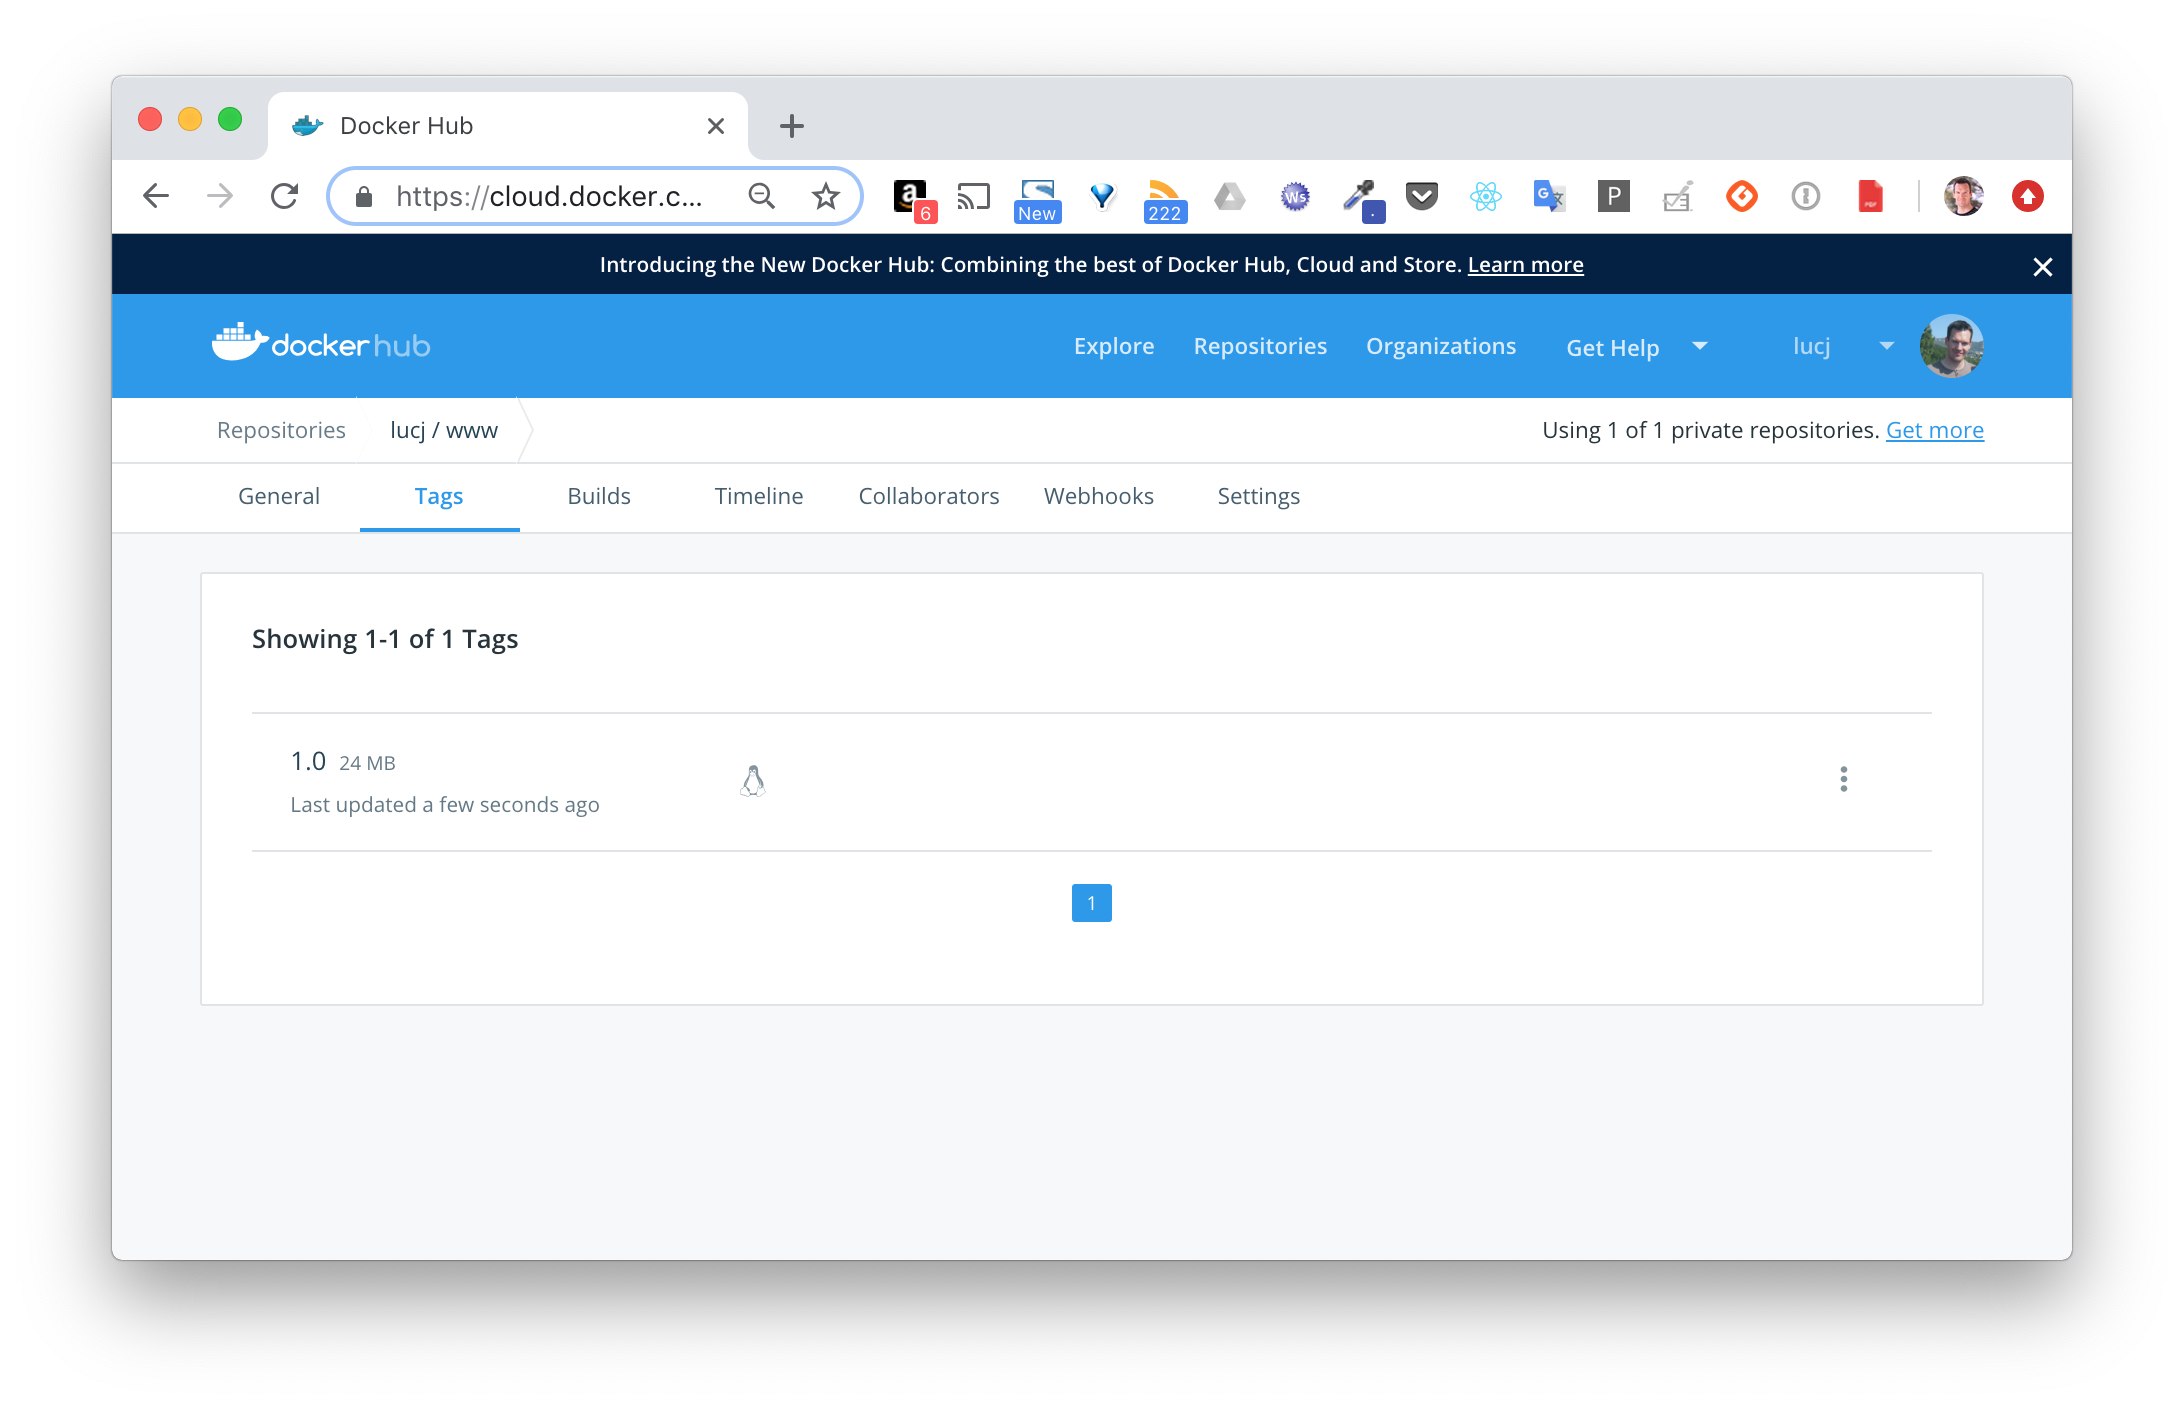
Confirm that the image is visible from the web interface
Solution
Simply go to http://hub.docker.com and follow the account creation procedure.
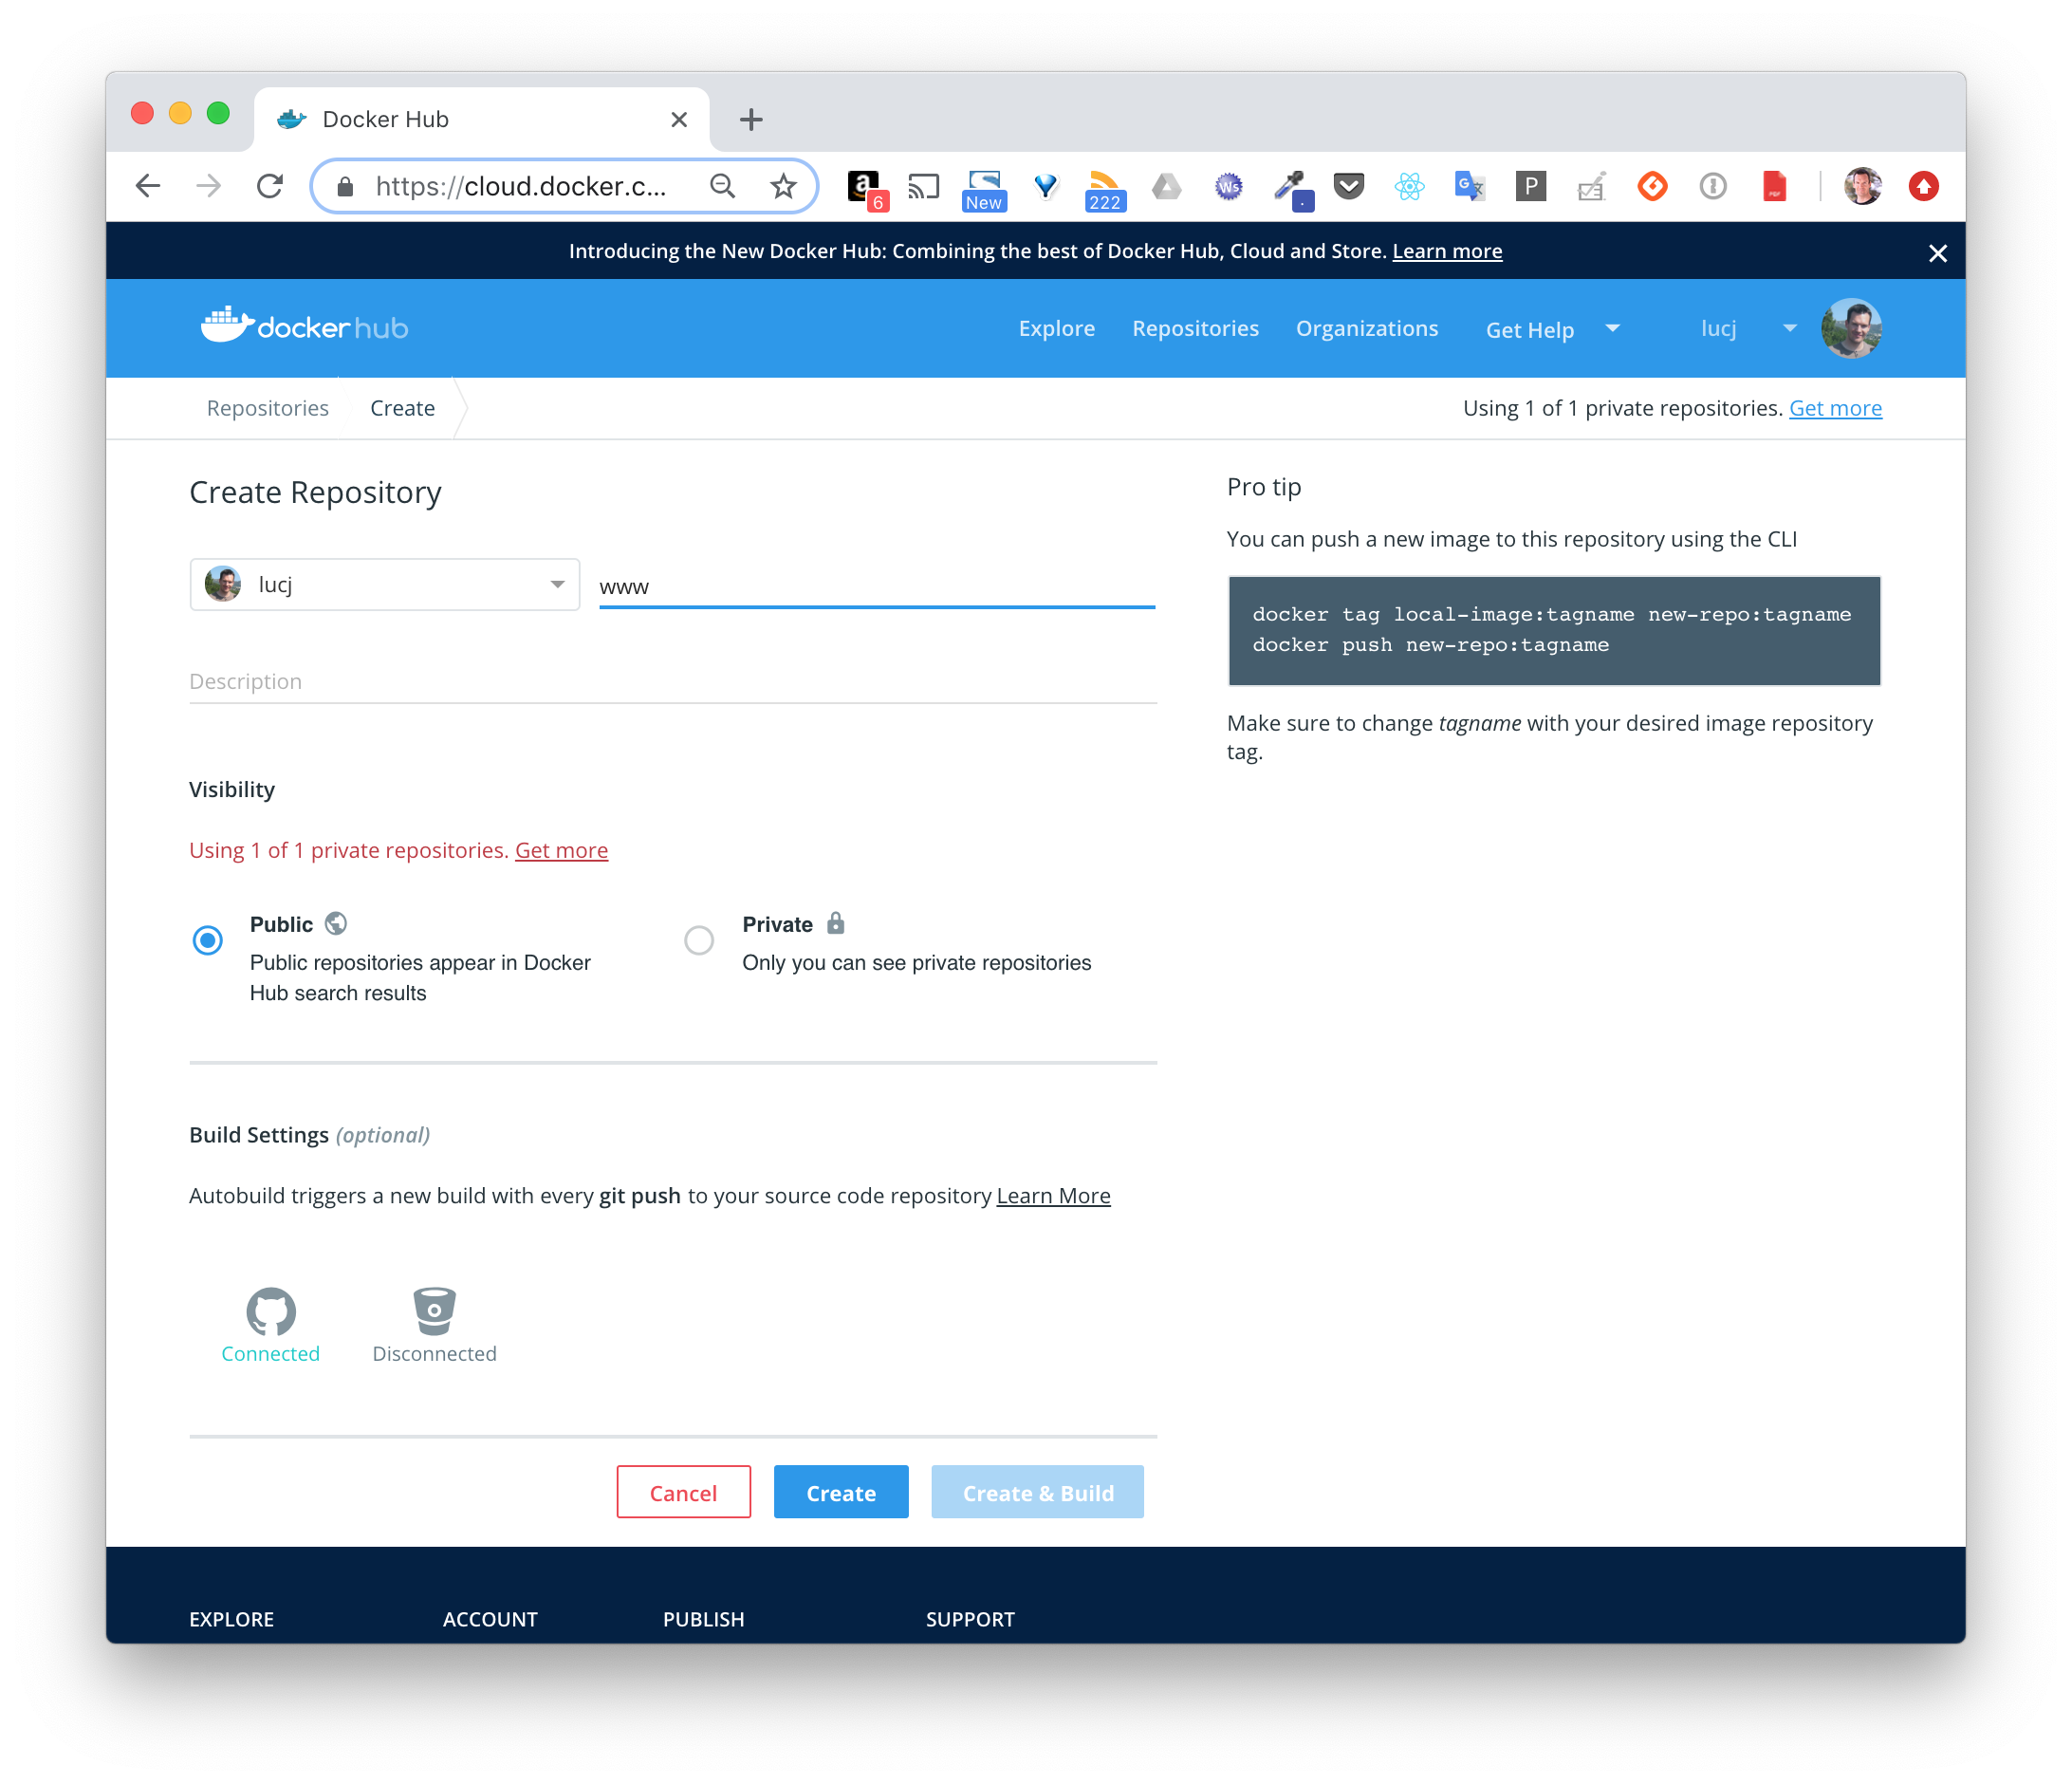
Once logged into Docker Hub, click on the “Create Repository” button and create the repository named www keeping the default values.
- From the command line, run the following command
docker loginYou will then need to enter your username and password.
Login with your Docker ID to push and pull images from Docker Hub. If you don't have a Docker ID, head over to https://hub.docker.com to create one.
Username:
Password:
Login Succeeded- Select a locally available image (for example ubuntu, alpine, … or any other image you have already downloaded or created).
Using the following command, create a new tag USERNAME/www:1.0 that identifies this image:
Note: replace IMAGE with the local image you selected and USERNAME with your Docker Hub username.
docker image tag IMAGE USERNAME/www:1.0 - To upload the image to Docker Hub, use the push subcommand
docker image push USERNAME/www:1.0The different layers of the image are uploaded to Docker Hub.
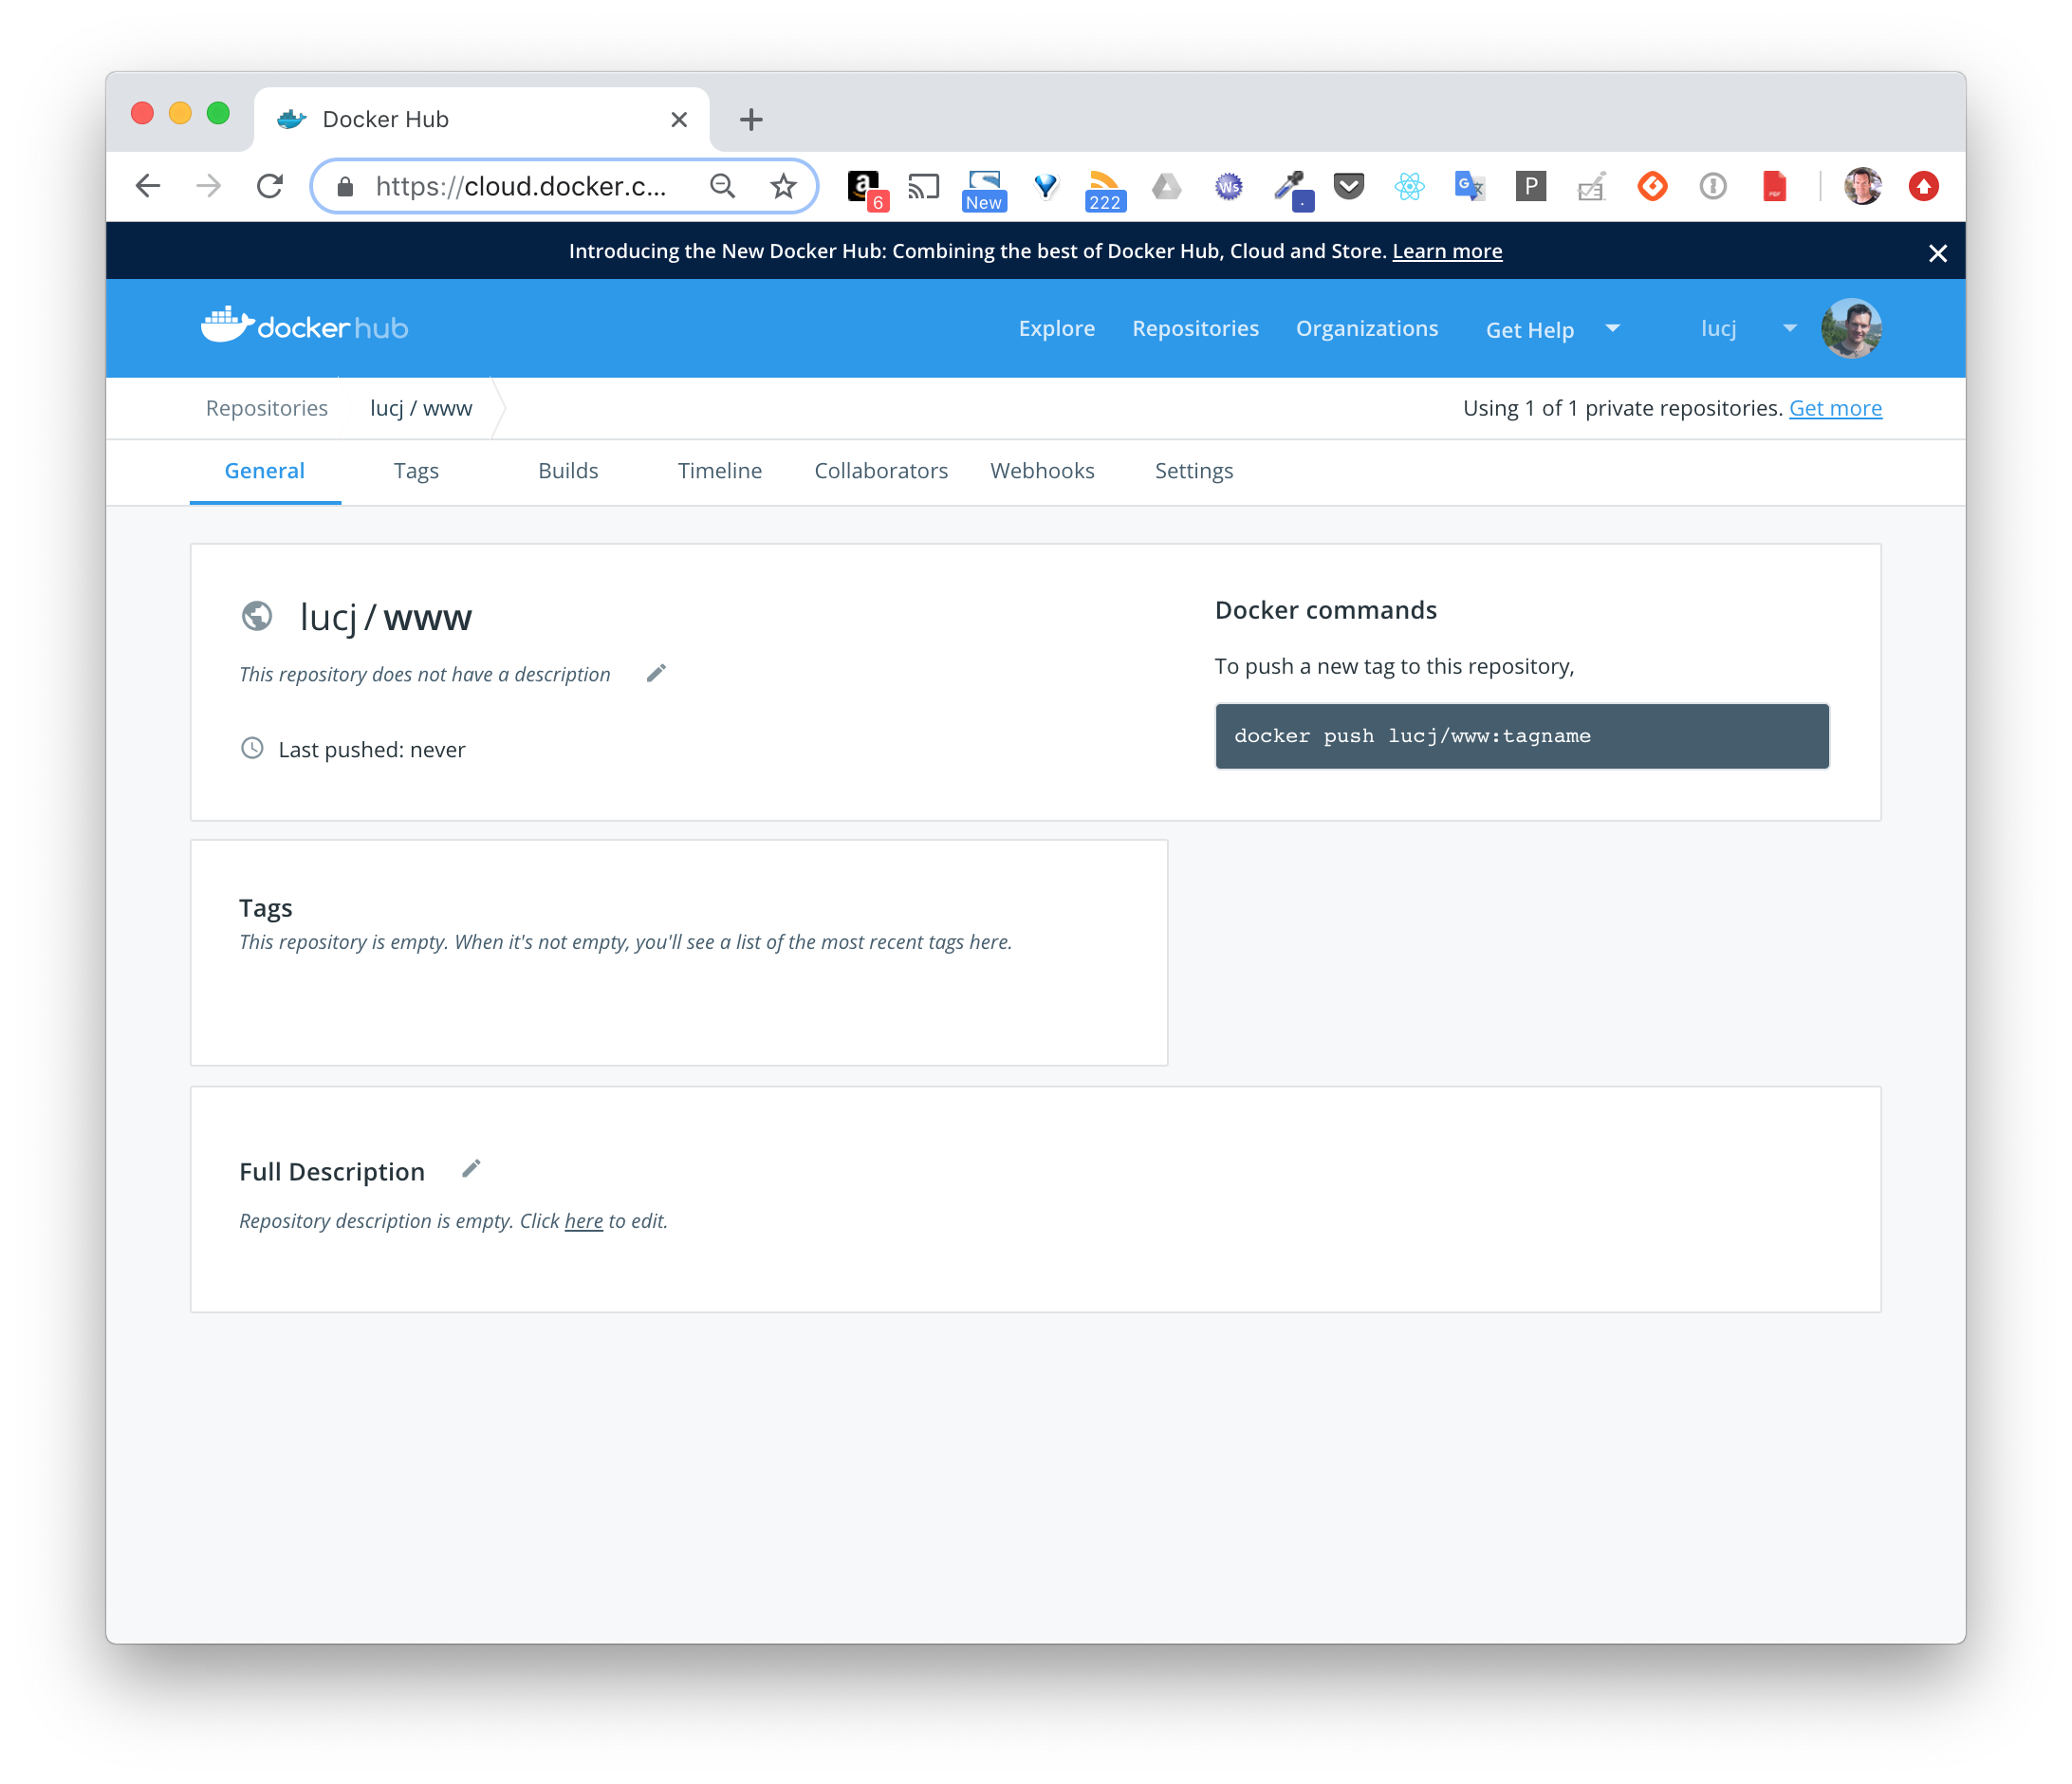
- The new image is now visible from the Docker Hub interface
As your repository is public, anyone can download (pull) the image and run it on his local machine.