![]()
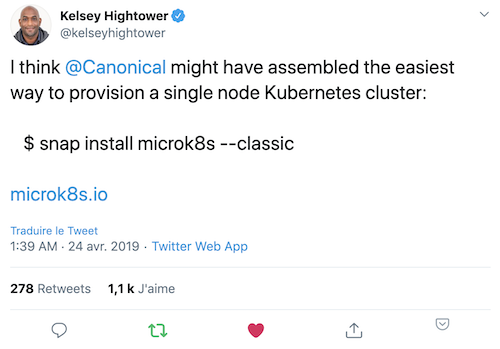
MicroK8s is a tool focused on simplicity and developer experience. It is especially suited for IoT, edge computing, and more. It is a lightweight distribution that provides many add-ons and pre-packaged components that give Kubernetes additional capabilities: from simple DNS management to machine learning with Kubeflow.
On Windows, MacOS, or Linux, MicroK8s can easily be installed in a virtual machine. We will use Multipass, a very convenient tool that allows you to easily launch Ubuntu virtual machines on Mac, Linux, or Windows.
Note: The installation of Multipass and the illustration of the various commands were detailed in a previous exercise, so feel free to refer to it.
1. Create an Ubuntu VM
Use the following command to create an Ubuntu 18.04 VM with Multipass. This will take just a few seconds:
multipass launch --name microk8s --memory 4G2. Install MicroK8s in the VM
Use the following command to start the installation of MicroK8s in the VM you just provisioned:
multipass exec microk8s -- sudo snap install microk8s --classicNote: We are using the multipass exec command to run a command directly within the given VM. Alternatively, we could have launched a shell inside the microk8s VM and run the command sudo snap install microk8s --classic from there.
3. Configuration File
Retrieve the configuration file generated by MicroK8s from your local machine:
multipass exec microk8s -- sudo microk8s.config > microk8s.yamlThen, use the following command to set the KUBECONFIG environment variable so that it points to the configuration file you retrieved earlier (this will configure the kubectl client on your local machine):
export KUBECONFIG=$PWD/microk8s.yaml4. Access the Cluster
We can now access the cluster and list the nodes:
kubectl get nodes5. Add-ons
MicroK8s comes with several add-ons, and you can view the list with the following command (run from a shell):
multipass exec microk8s -- sudo microk8s statusYou should get a result similar to this:
microk8s is running
high-availability: no
  datastore master nodes: 127.0.0.1:19001
  datastore standby nodes: none
addons:
  enabled:
    dns                  # (core) CoreDNS
    ha-cluster           # (core) Configure high availability on the current node
    helm                 # (core) Helm - the package manager for Kubernetes
    helm3                # (core) Helm 3 - the package manager for Kubernetes
  disabled:
    cert-manager         # (core) Cloud native certificate management
    community            # (core) The community addons repository
    dashboard            # (core) The Kubernetes dashboard
    host-access          # (core) Allow Pods connecting to Host services smoothly
    hostpath-storage     # (core) Storage class; allocates storage from host directory
    ingress              # (core) Ingress controller for external access
    kube-ovn             # (core) An advanced network fabric for Kubernetes
    mayastor             # (core) OpenEBS MayaStor
    metallb              # (core) Loadbalancer for your Kubernetes cluster
    metrics-server       # (core) K8s Metrics Server for API access to service metrics
    minio                # (core) MinIO object storage
    observability        # (core) A lightweight observability stack for logs, traces and metrics
    prometheus           # (core) Prometheus operator for monitoring and logging
    rbac                 # (core) Role-Based Access Control for authorisation
    registry             # (core) Private image registry exposed on localhost:32000
    storage              # (core) Alias to hostpath-storage add-on, deprecated
Note: To enable an add-on, simply use the command multipass exec microk8s -- sudo microk8s enable ADDON_NAME
MicroK8s is an excellent solution for setting up a local Kubernetes installation. It is also a distribution that can be configured with multiple nodes and used in a production environment.