Exoscale account
Creating an account
First go to the Exoscale Portal.
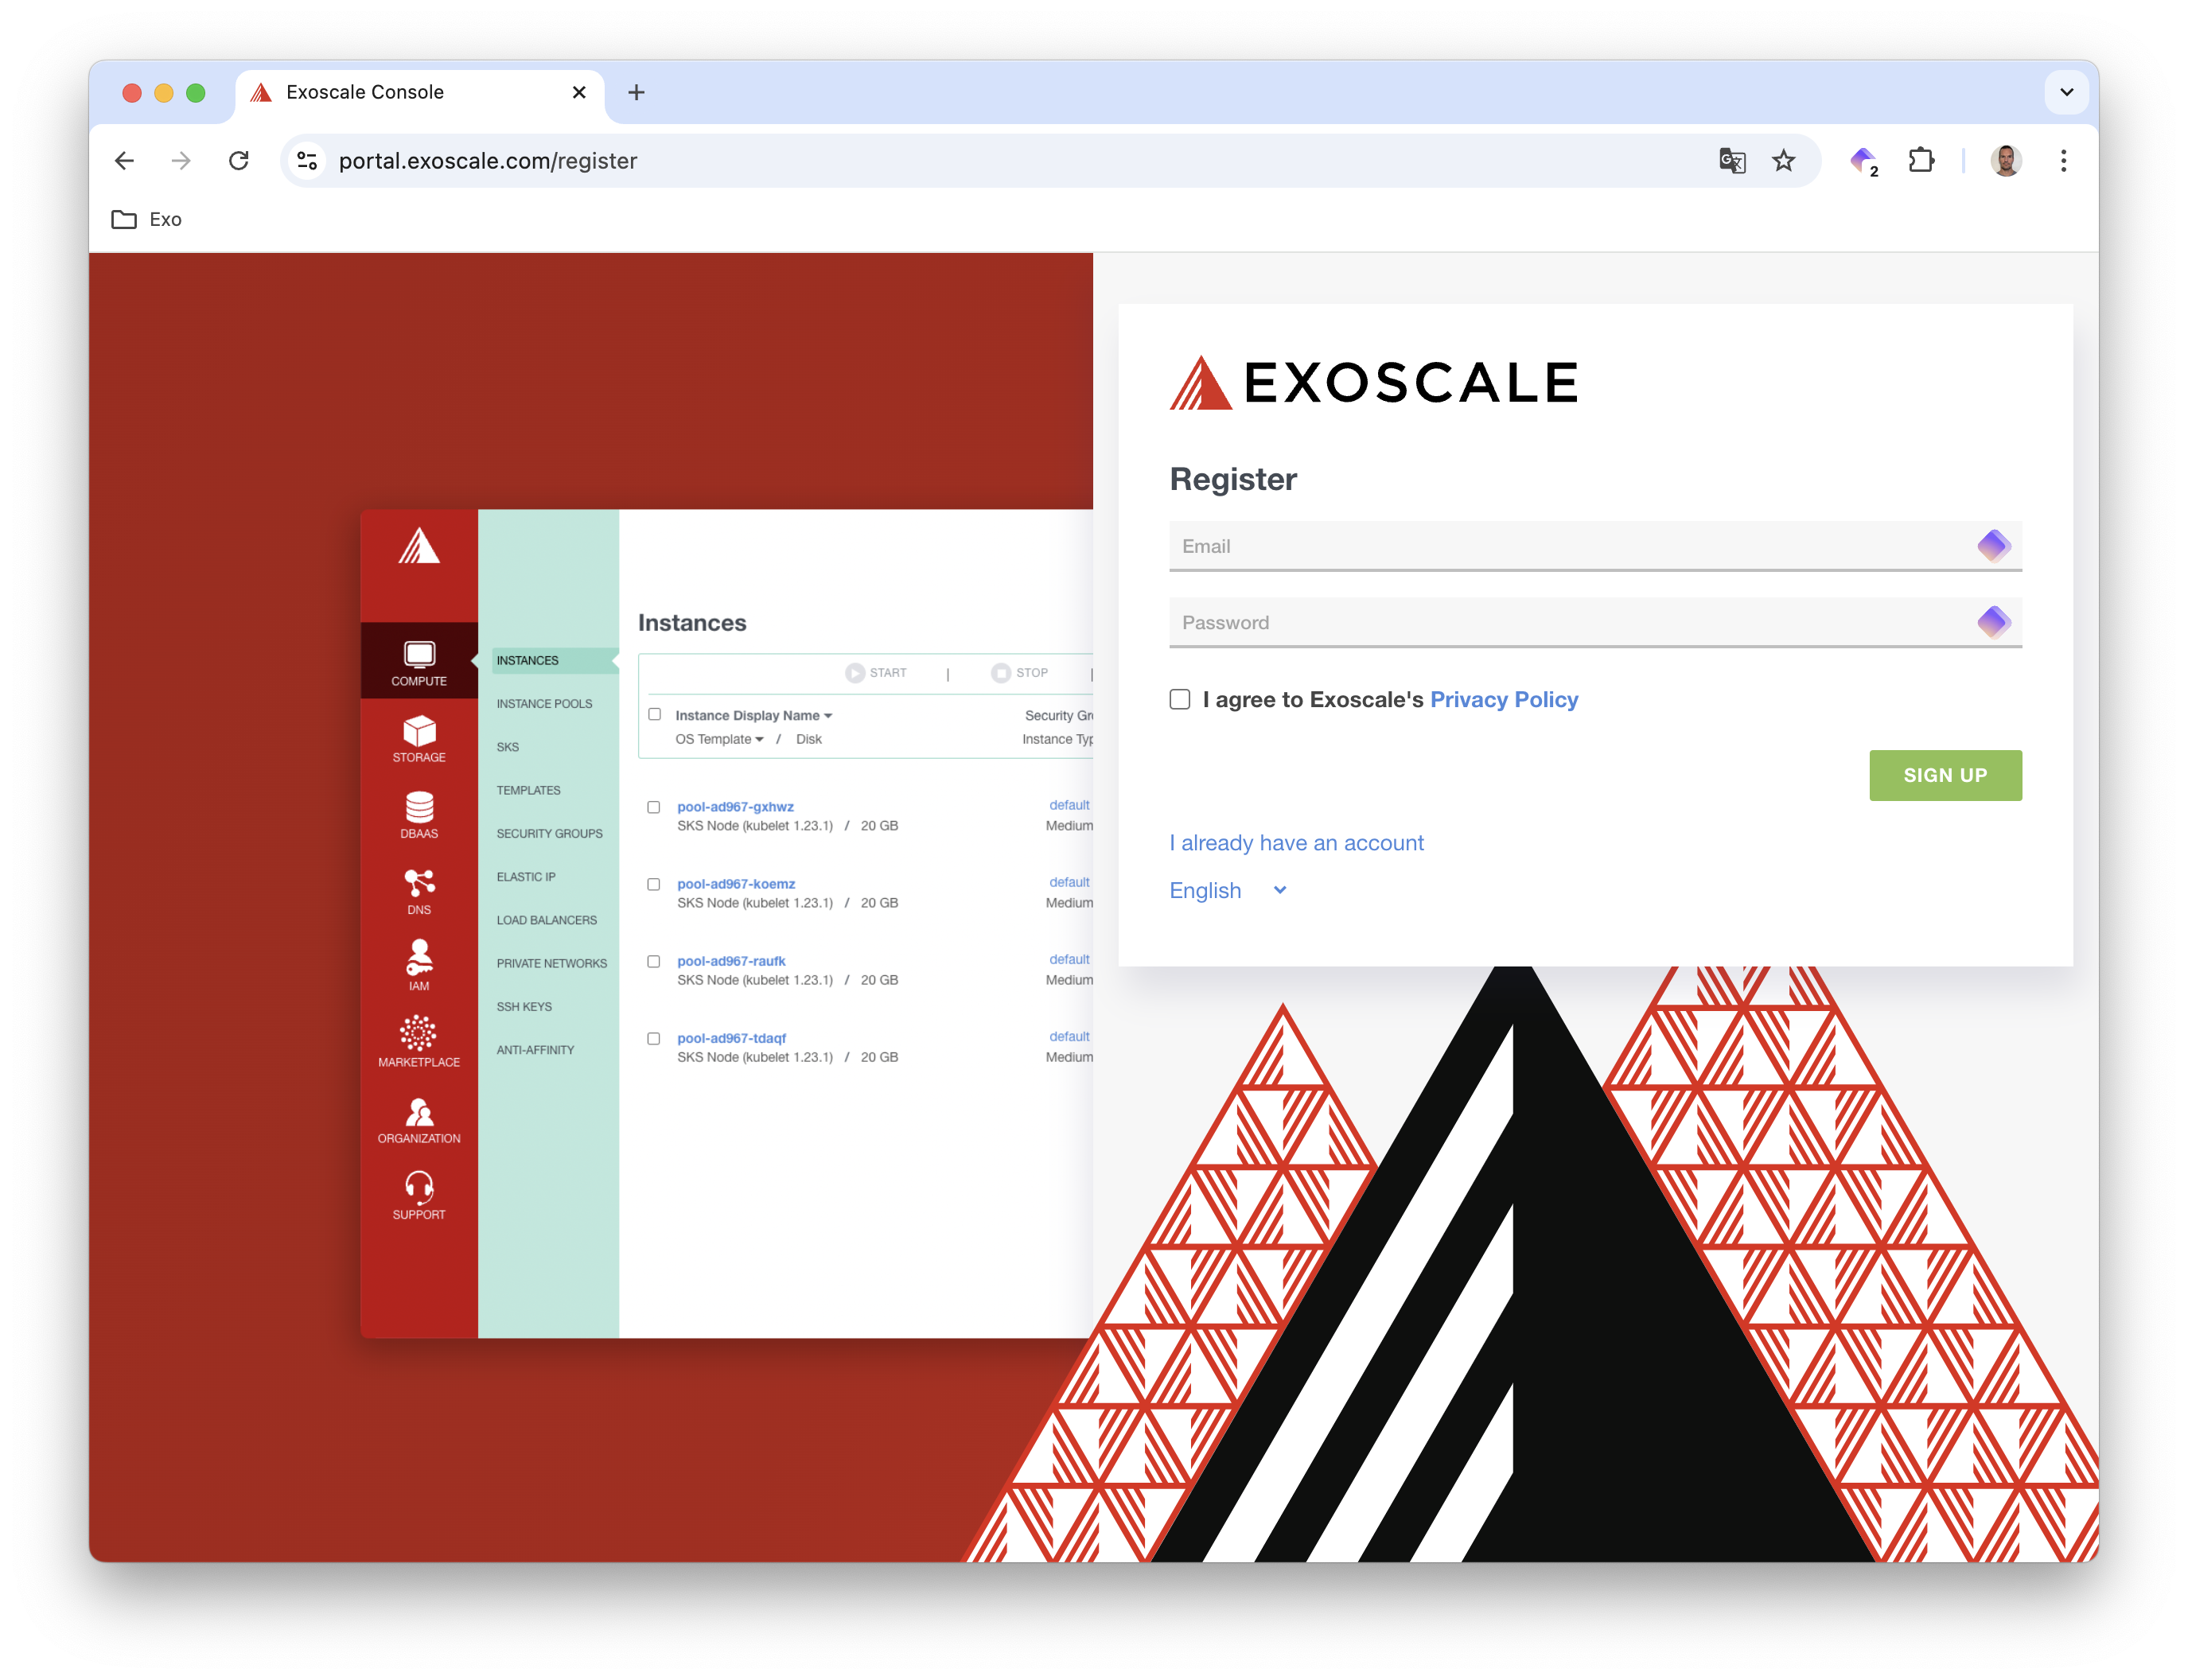
Next click on the Registration button and enter your email address and a password of your choice.
Validating your account
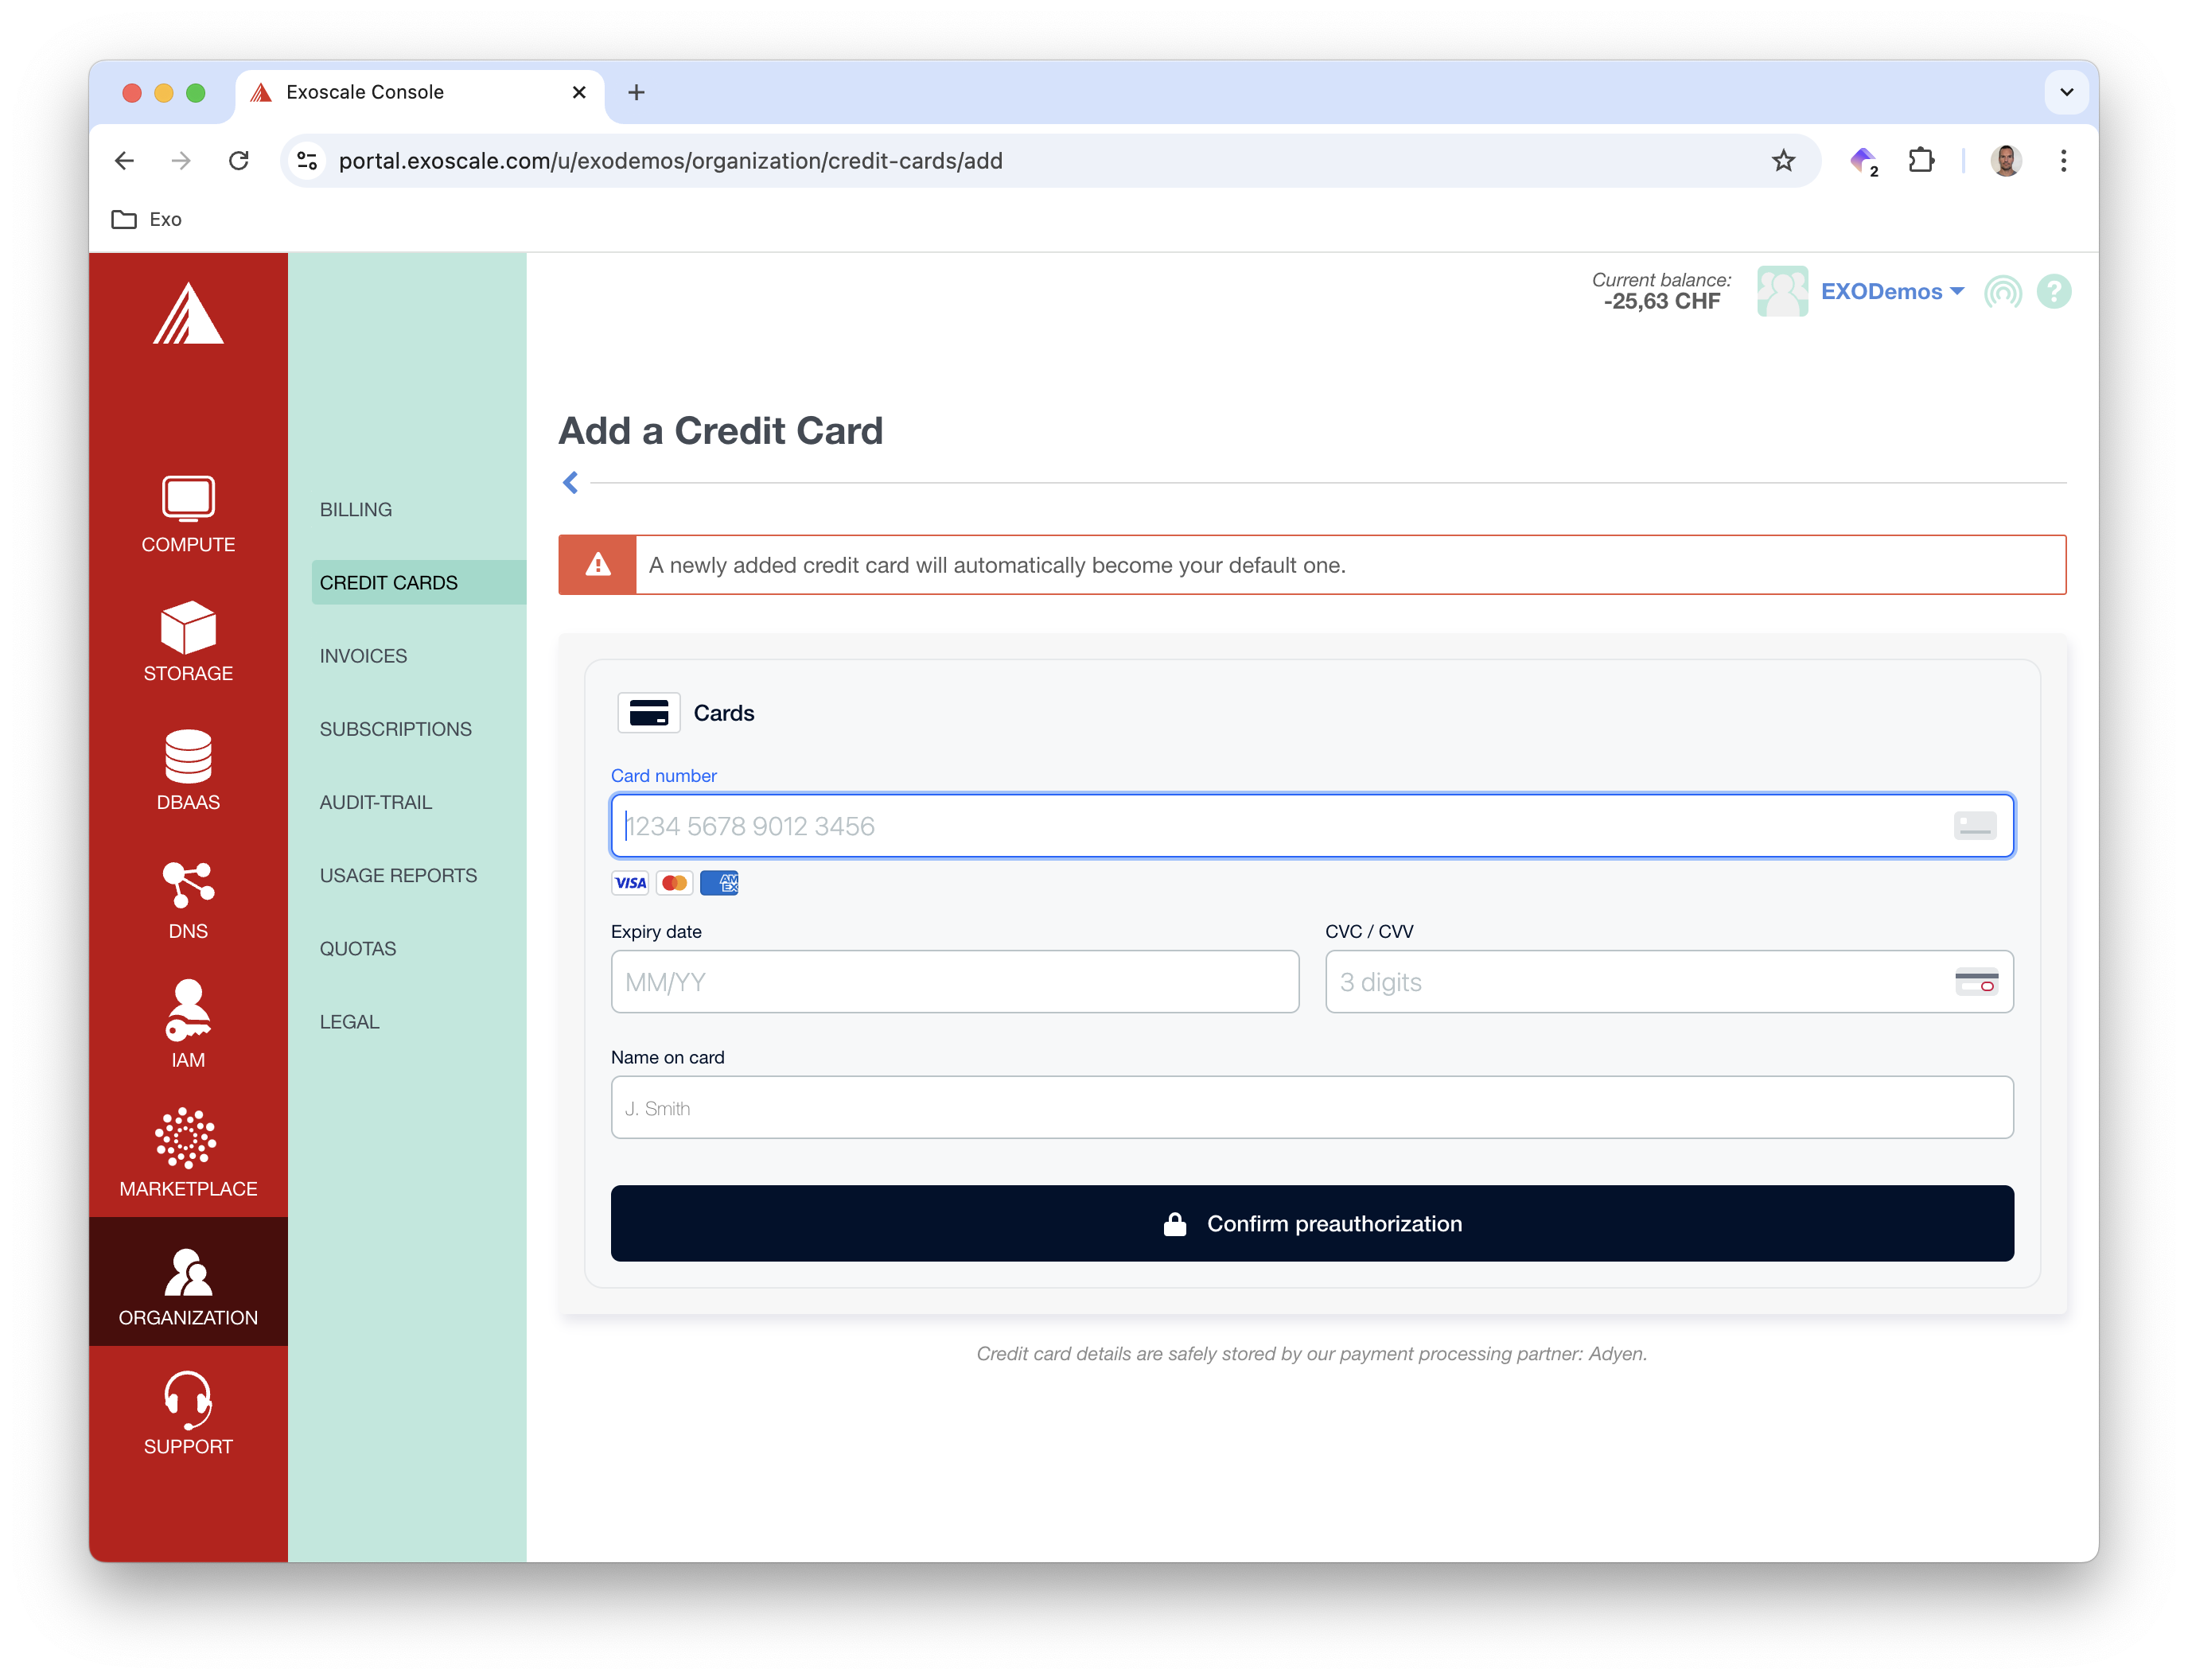
To protect against fraud, your account must be validated. You can do so entering a credit-card number, or you can add a small amount of money (e.g.: 5€) to your account (you can use PayPal for that purpose).
Getting free credits
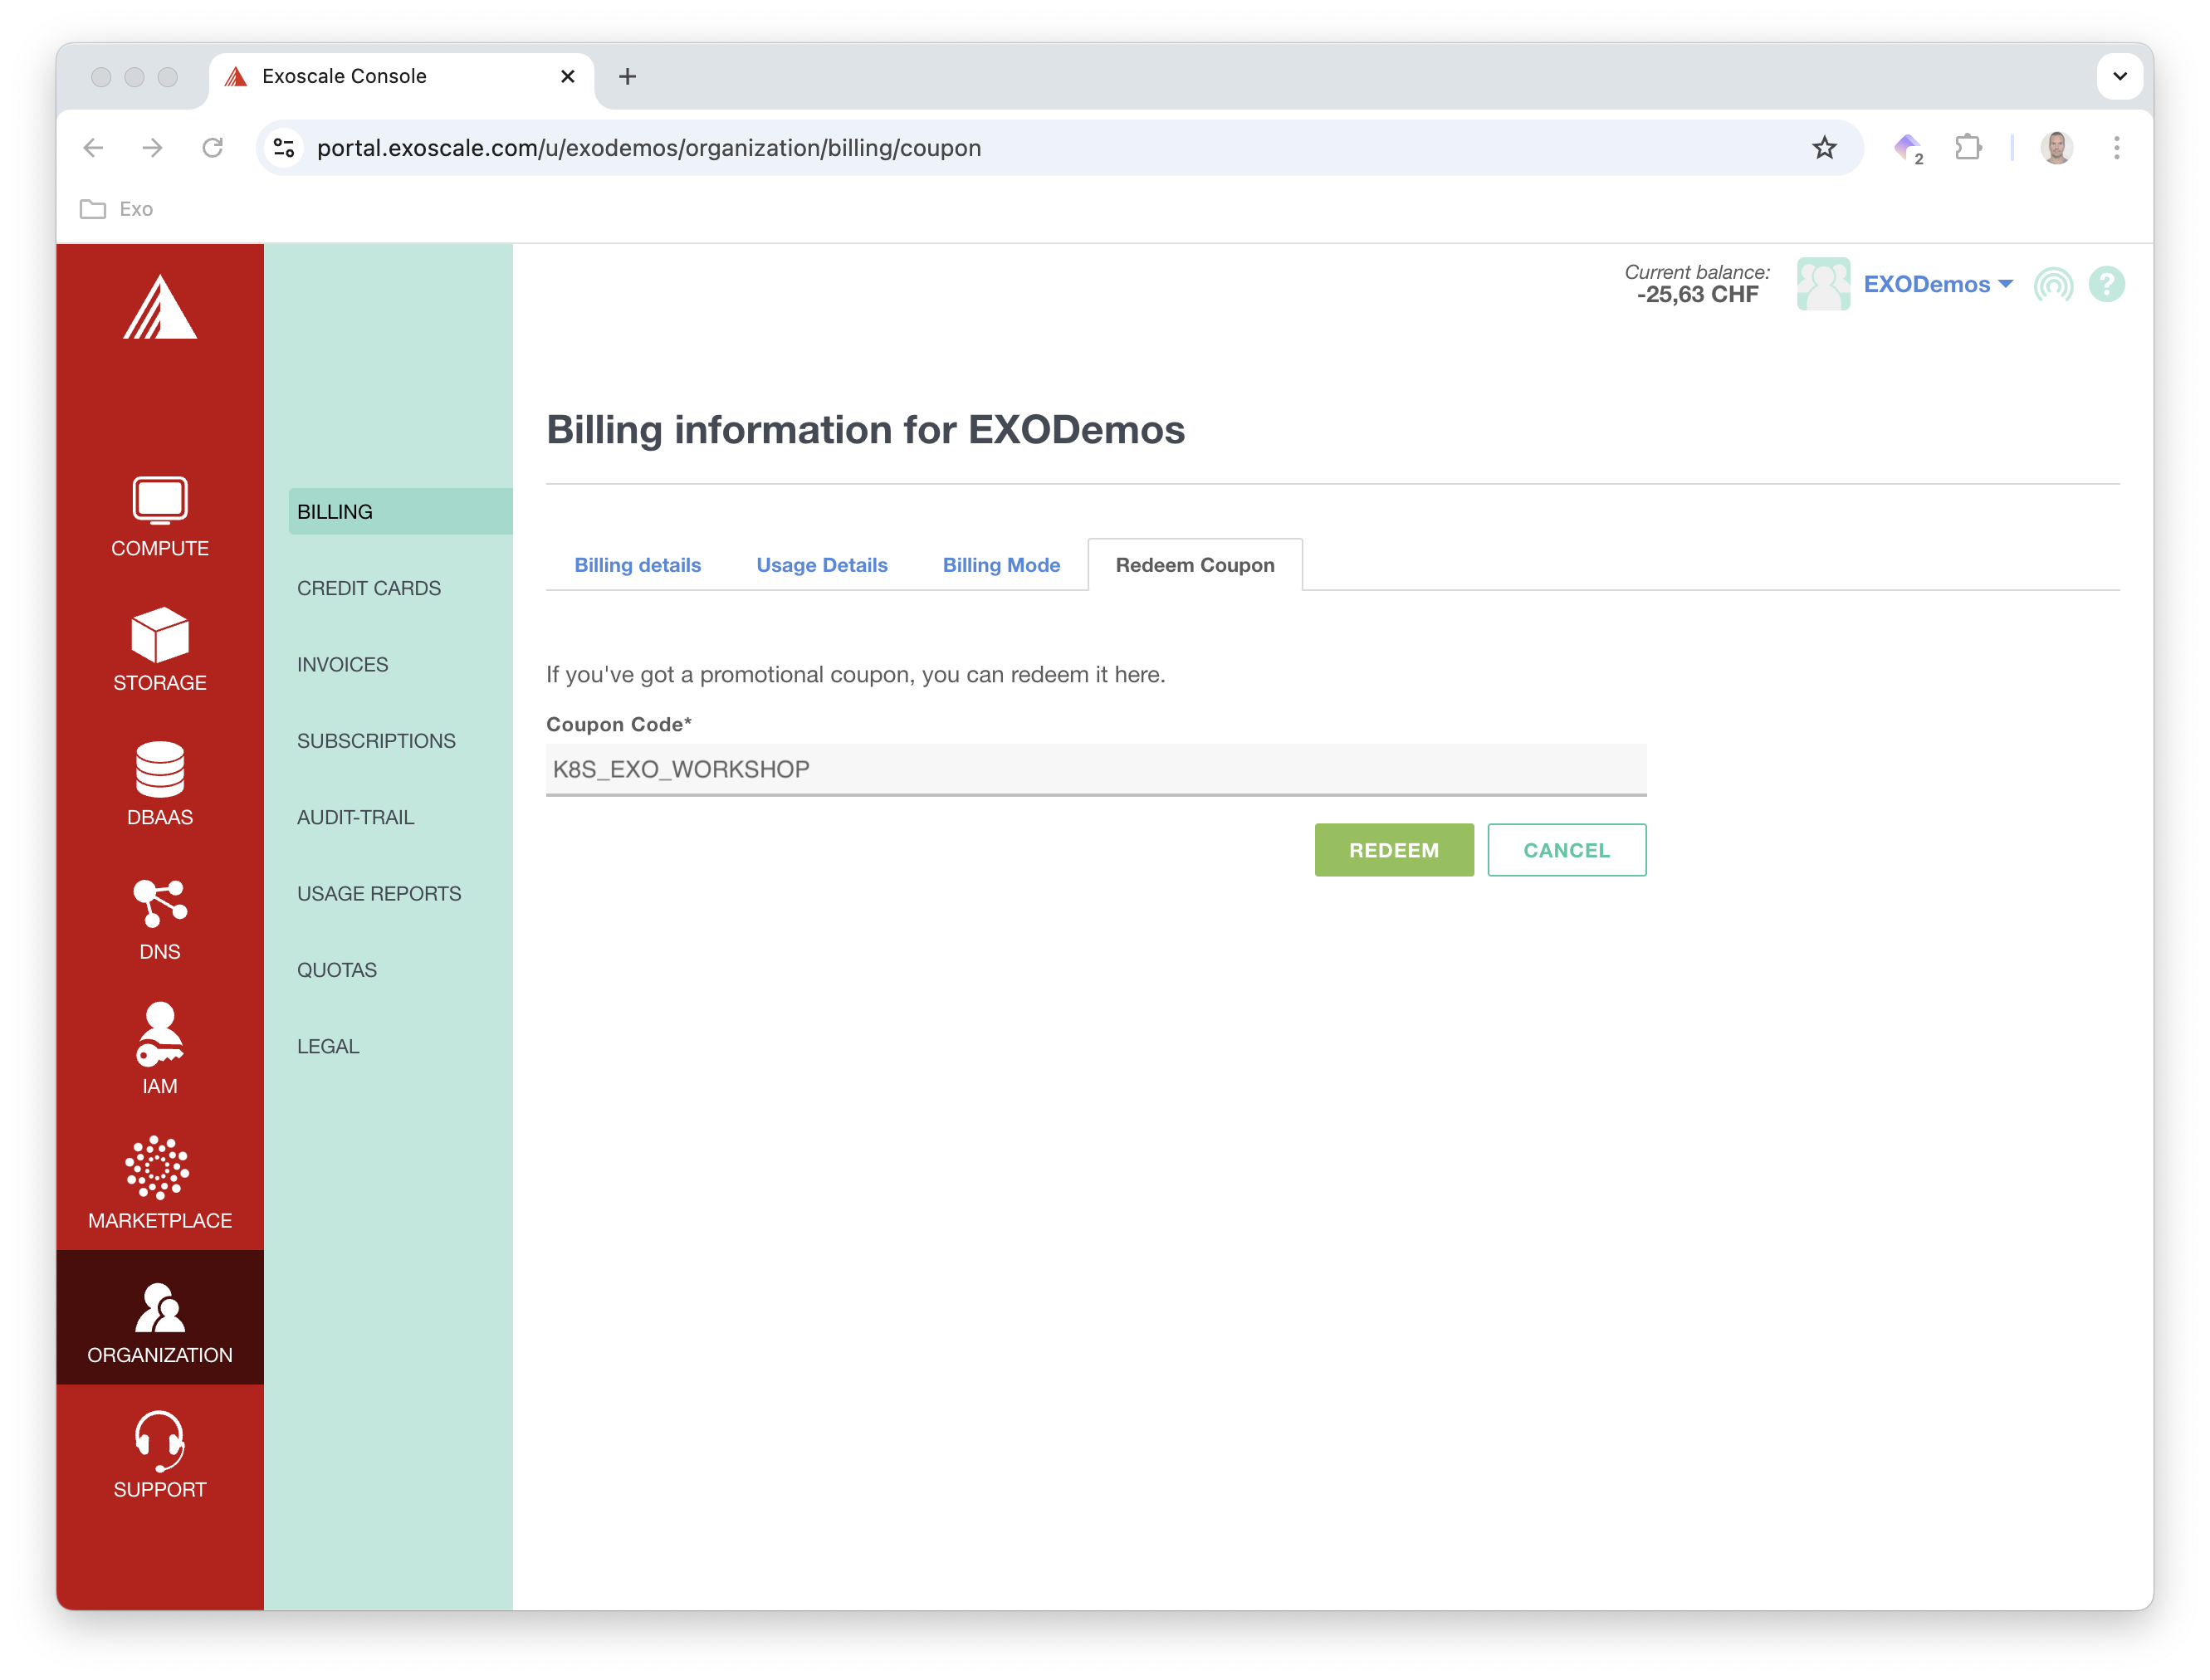
Once your account is validated, you are credited with 20€ to test the Exoscale platform for free. On top of this, because you follow this Kubernetes workshop, you can redeem additional free credits entering the coupon code K8S_EXO_WORKSHOP in your personal organization
These credits are available for the workshop, but you can use the remaining to discover other features of the Exoscale platform like the hosted DNS offering, the Database as a Service offering, …
Get your API Key
The last step is to generate an API Key, you need this key pair to configure the tool in charge of creating the cluster (exo cli, Terraform or Pulumi)
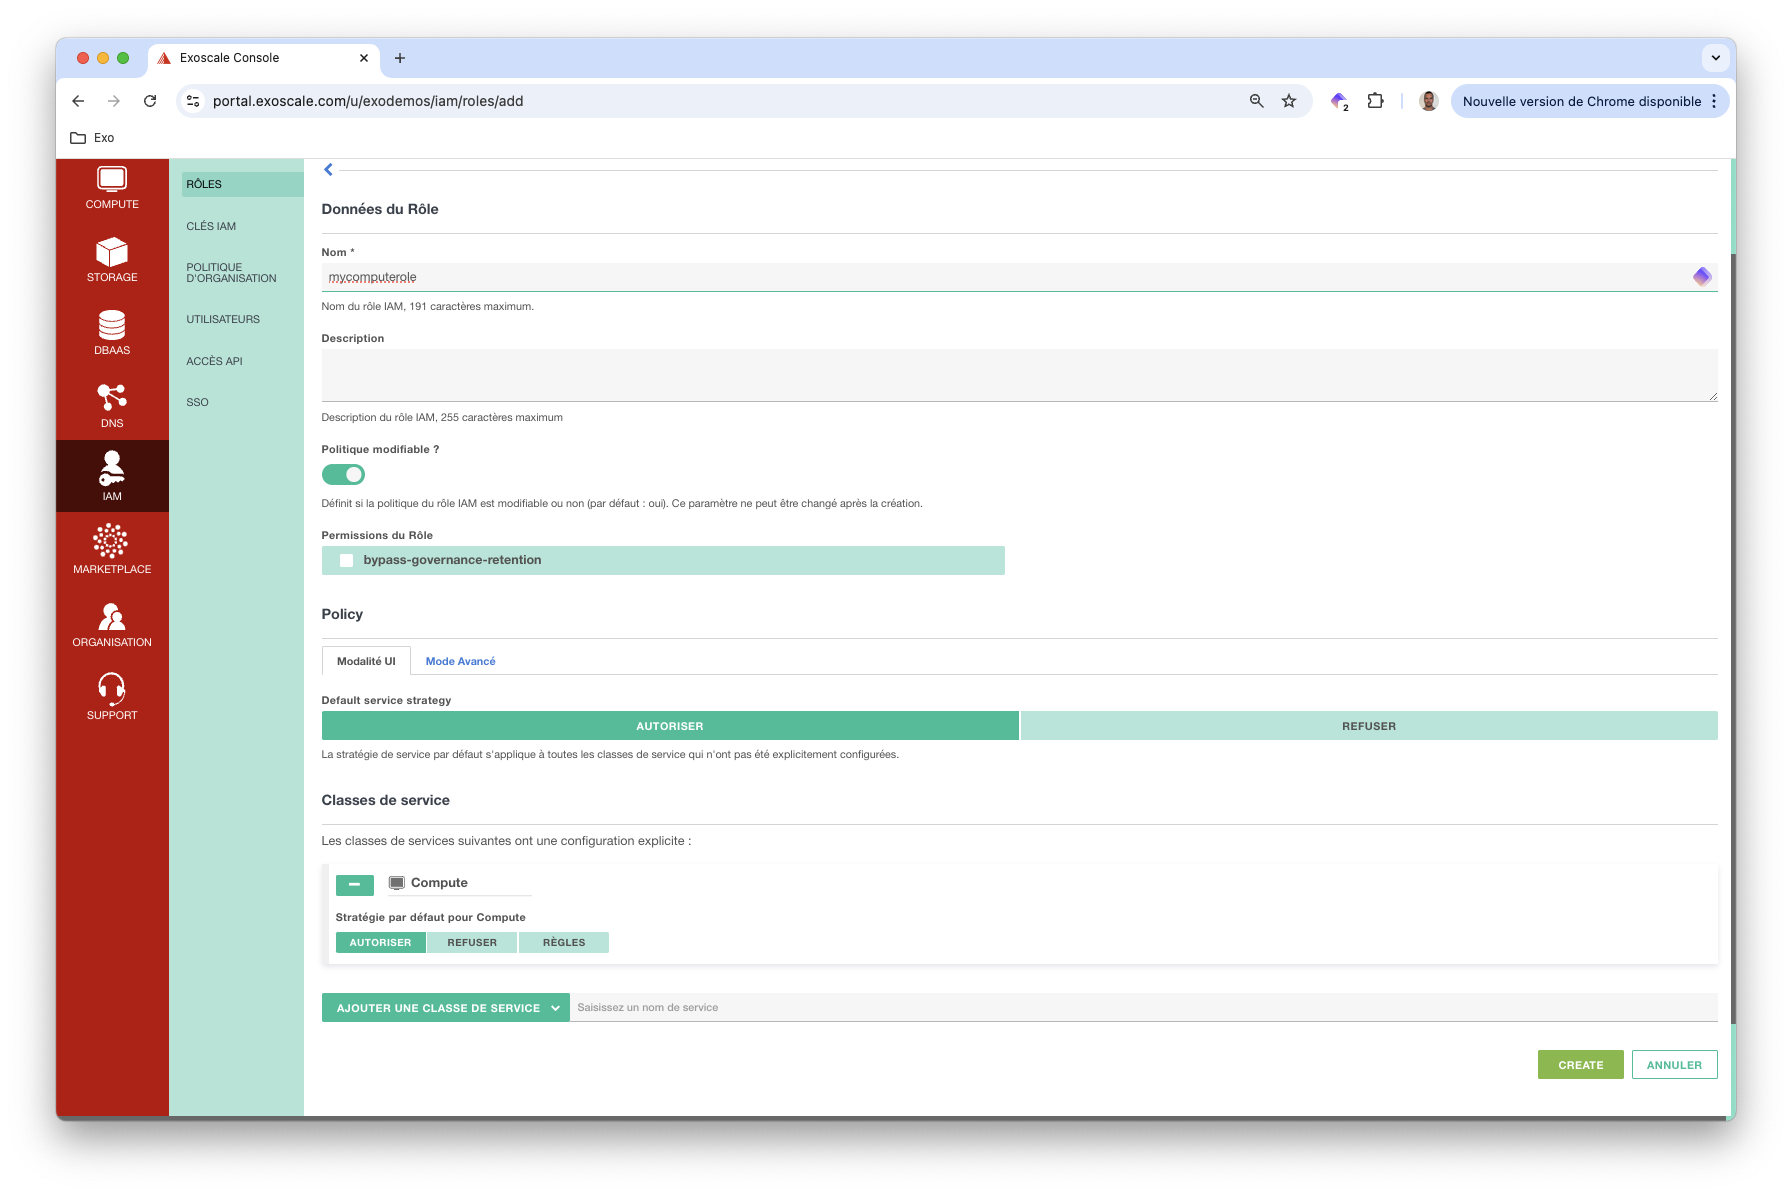
First, go in the IAM menu and create a role. Exoscale offers a unique offer in terms of configuration of roles, but in this example you will create a role with rights on the compute service. You can do so selecting the Compute service class and allow all the operations.
Then create a key associated to this role. You can give this key the name of your choice, select the role created above to associate the API Key to this role.

A key pair will be generated.
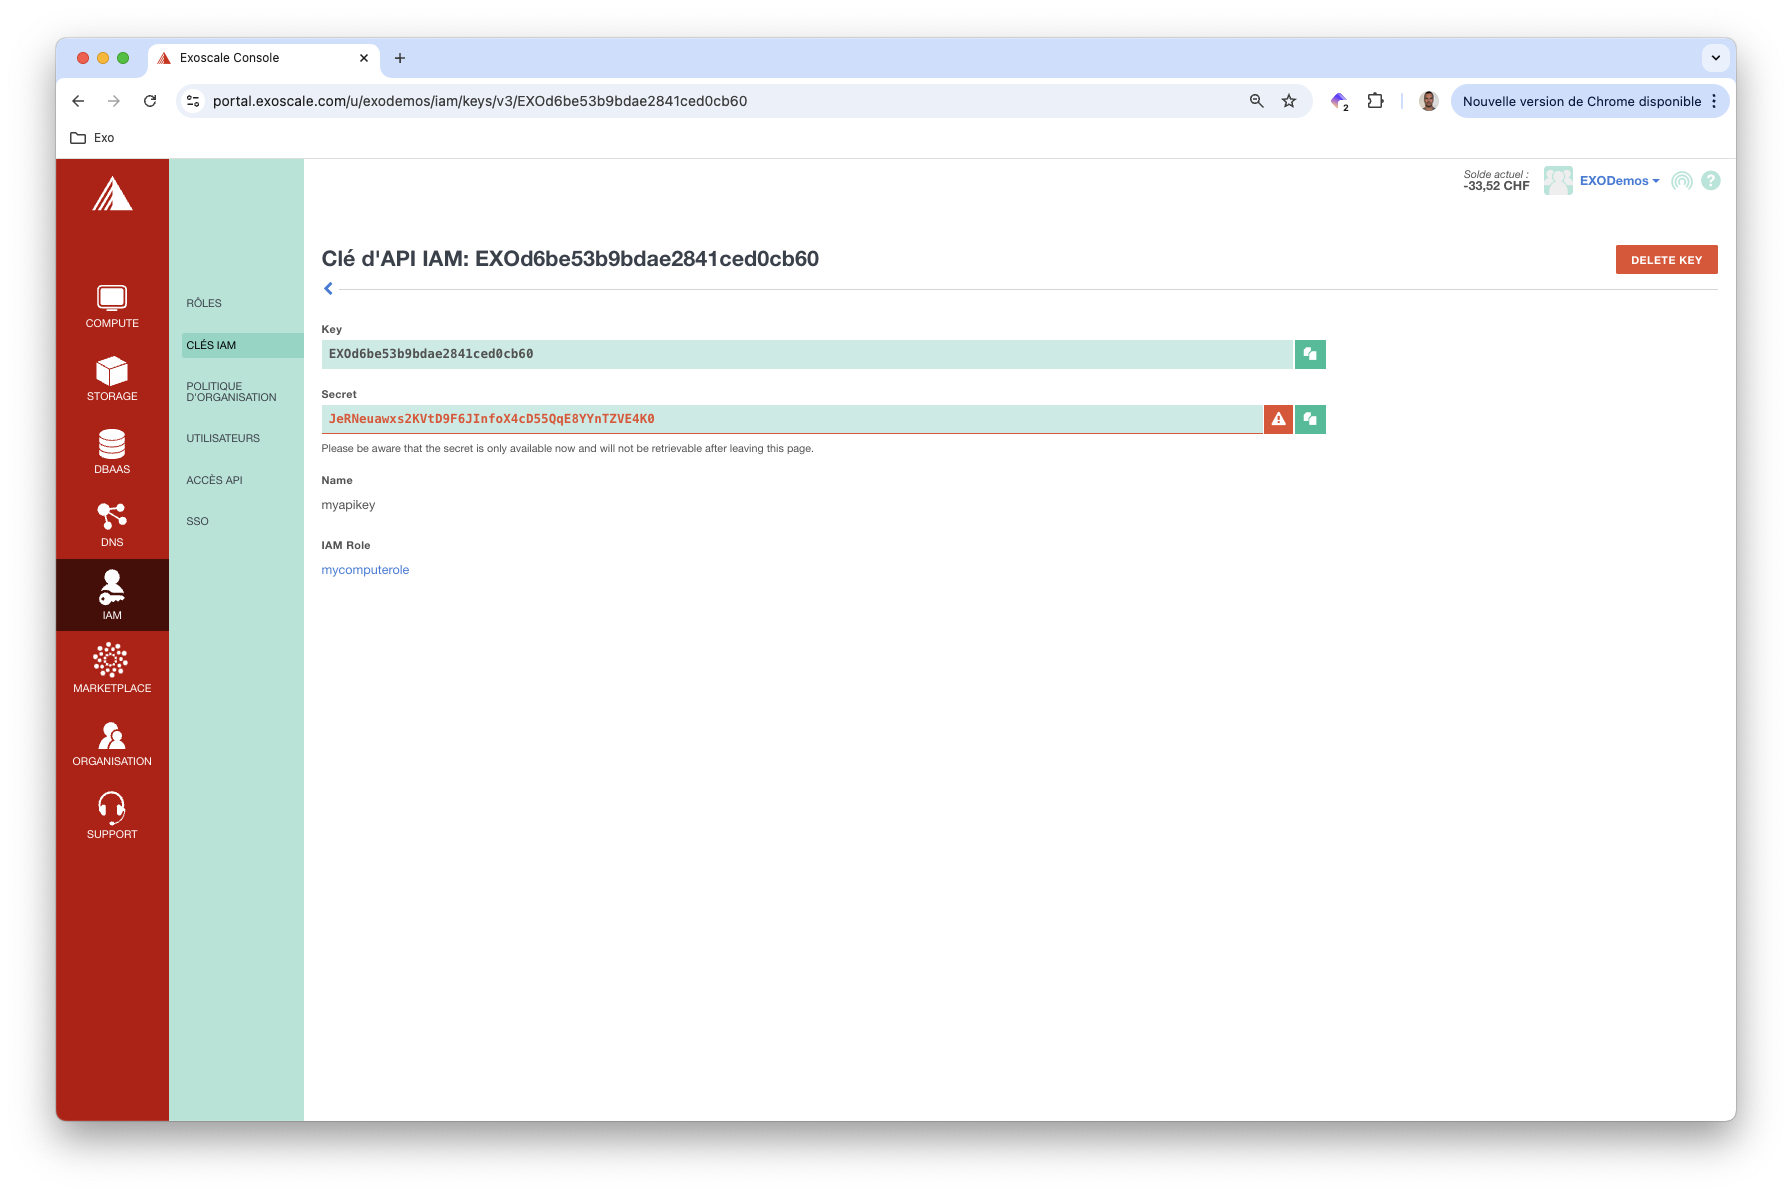
Store these keys respectively in the EXOSCALE_API_KEY and EXOSCALE_API_SECRET environment variables as you will need them in the next step.
Once the account is created, you can choose to use either Terraform, Pulumi or the exo CLI to create an SKS cluster.